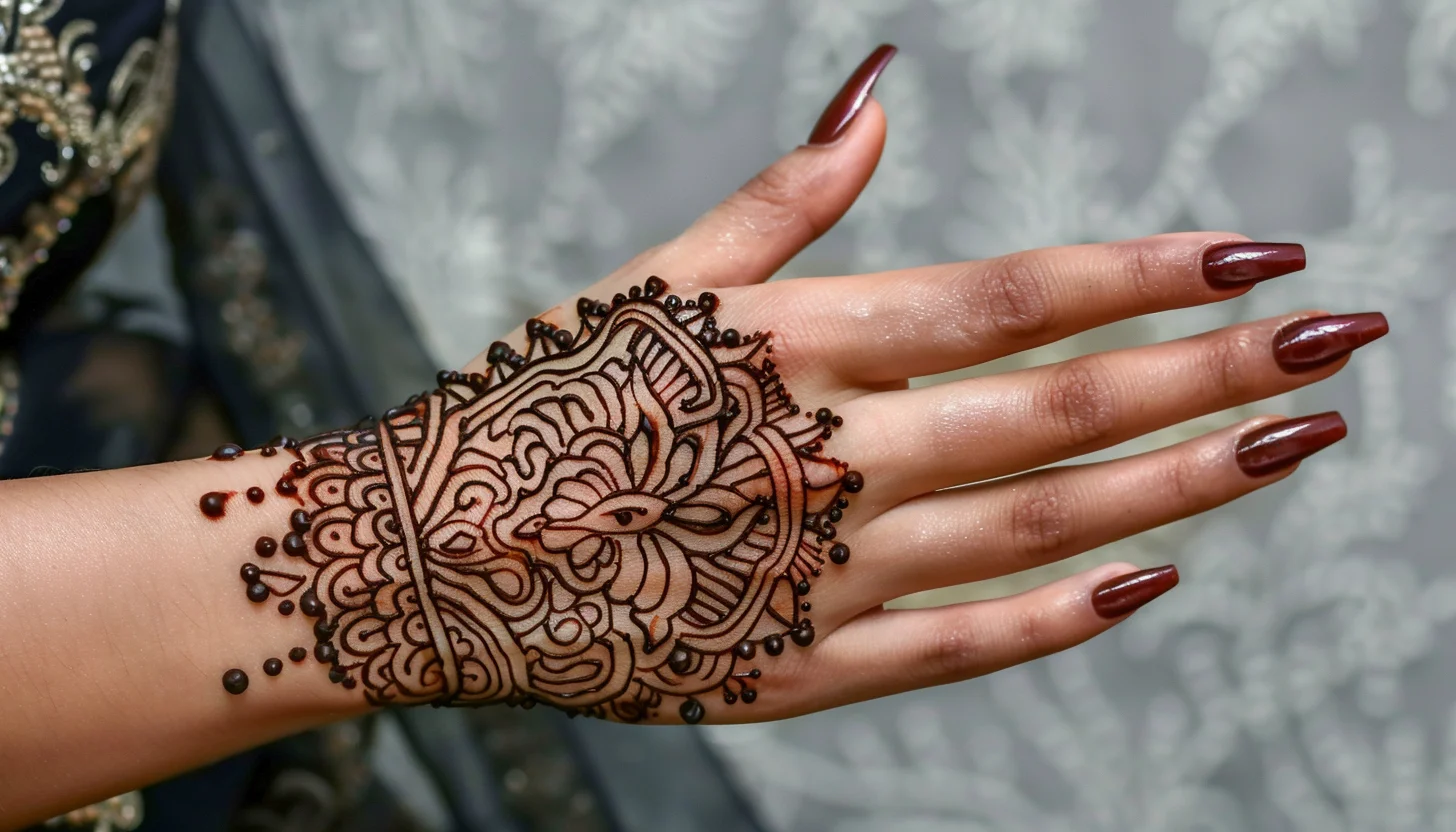
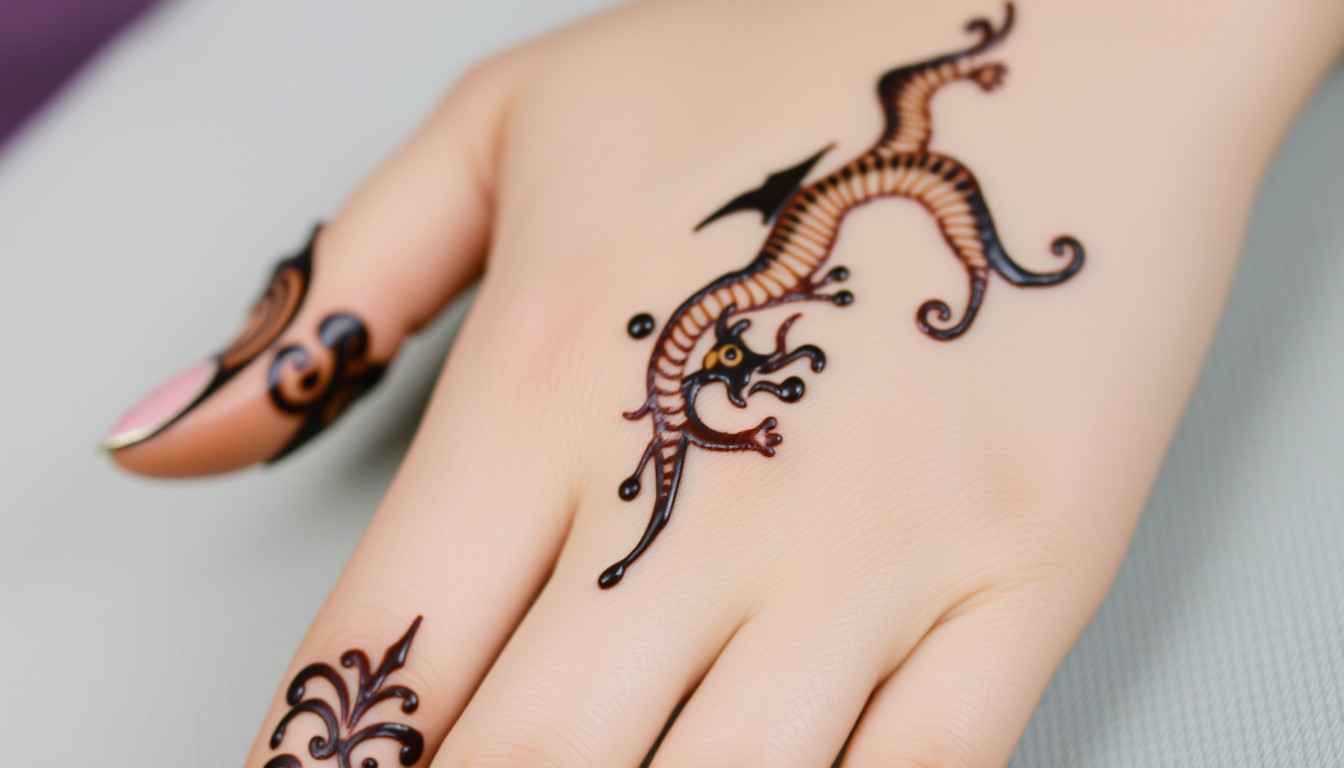
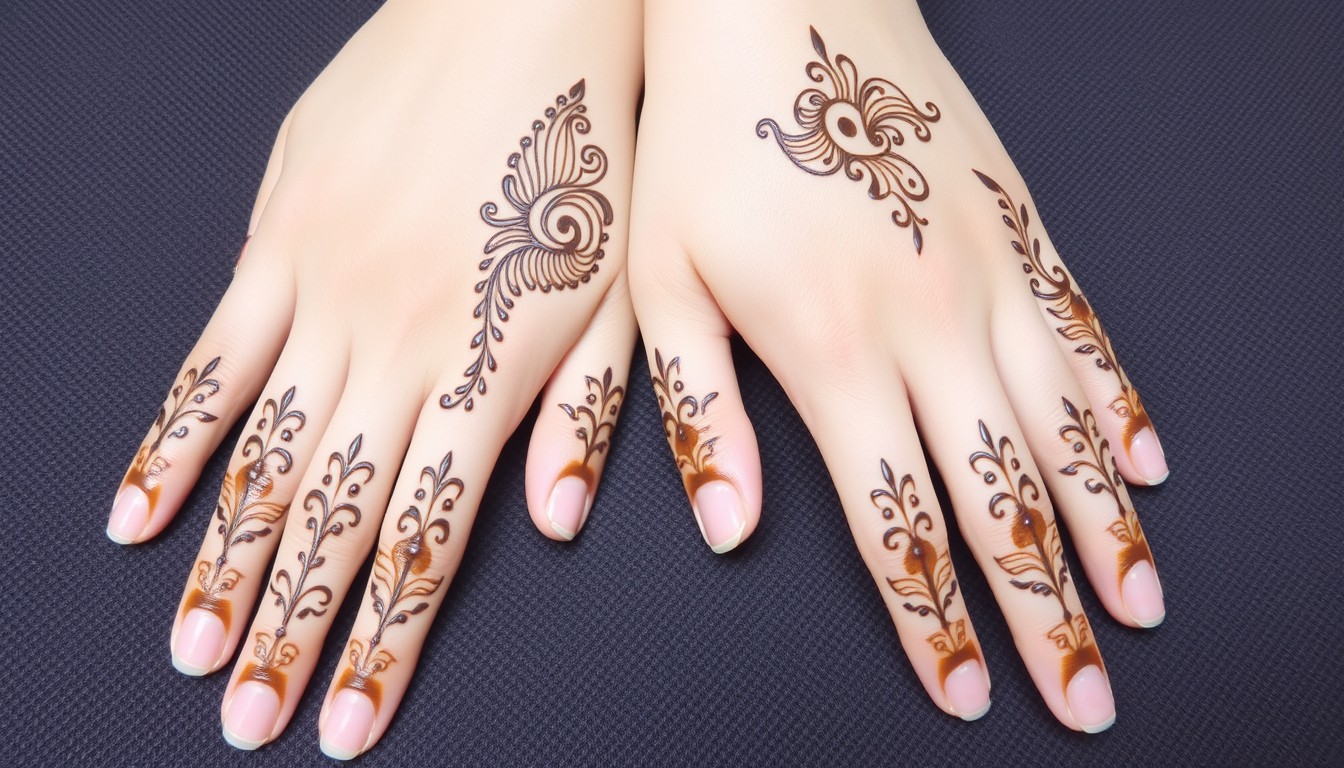
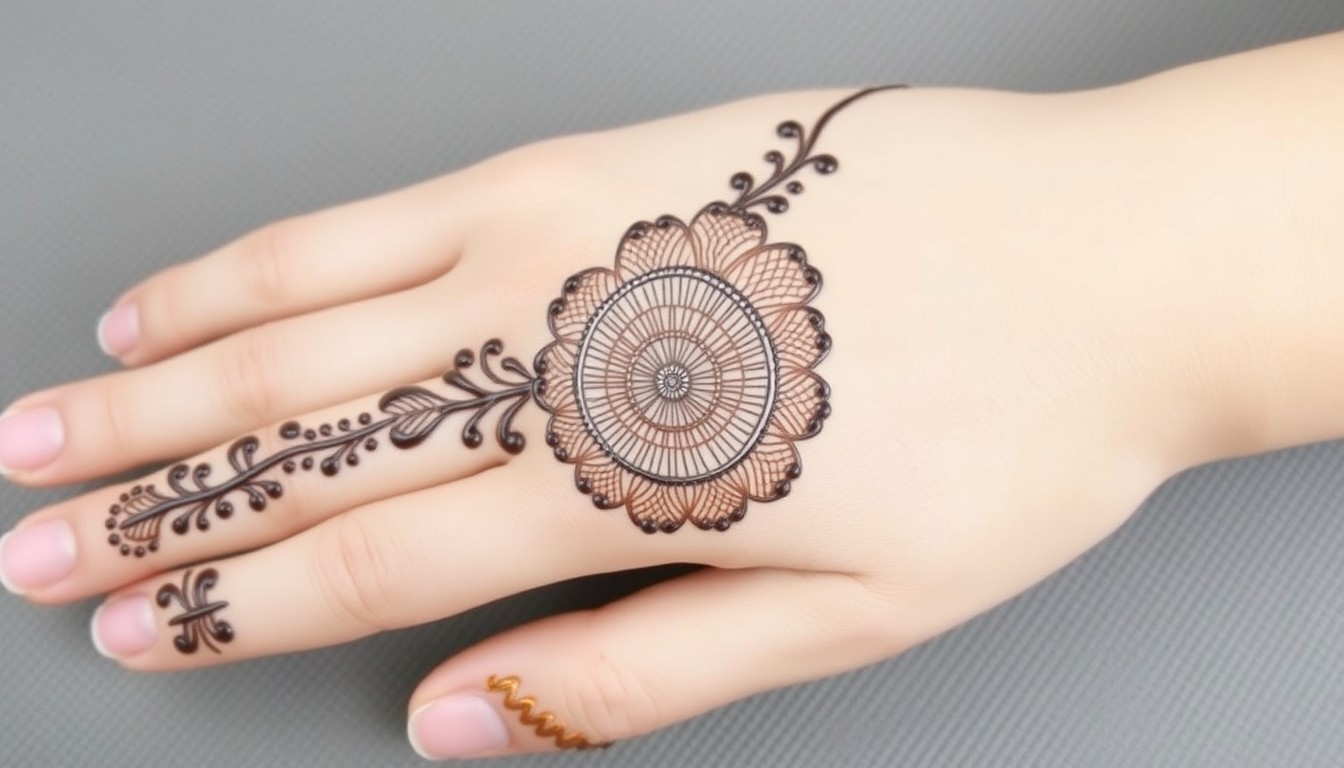
Henna, a natural dye derived from the Lawsonia inermis plant, has been used for centuries to adorn the skin with intricate patterns. One of the most popular and elegant designs is the henna crown. This timeless design symbolizes royalty, beauty, and femininity. In this article, we’ll explore various henna crown design ideas to inspire your next artistic endeavor.
Henna Crown Designs:


Design Ideas for Henna Crown Tattoos:
- Minimalist Crown: Simple lines and dots to create a sleek and elegant look.
- Floral Crown: Incorporate flowers and leaves into the design to give a soft, natural touch.
- Royal Crown: Add intricate jewels, curved lines, and embellishments to mimic a royal crown.
- Geometric Crown: Use triangles, diamonds, and patterns for a modern and unique design.
How tom make a Crown Tattoo With Henna:
Creating a crown tattoo with henna is a creative and elegant process. Here’s a step-by-step guide to help you make a beautiful henna crown design:
Materials Needed:
- Henna cone or henna paste
- Stencil (optional for beginners)
- Tissue or cotton swabs
- Lemon-sugar solution (for setting the henna)
- Tissue or cotton balls for cleaning
- Essential oils (like eucalyptus or lavender for darkening the stain)
Steps:
- Prepare the Area:
- Clean the skin where the crown henna tattoo will be applied using soap and water. Dry thoroughly.
- Exfoliate gently to remove dead skin cells for a smoother application.
- Sketch the Crown Design:
- You can sketch the outline of a crown using a washable marker or lightly with the henna cone. If you’re using a stencil, position it carefully on the skin.
- Common crown shapes include royal crowns, tiaras, or floral crowns. You can choose to add intricate details like jewels, dots, and swirling patterns to create a more ornate design.
- Apply the Henna:
- If you’re confident in freehand, directly squeeze the henna from the cone, following your outline or stencil.
- Start with the outline of the crown first, then move on to the inner details such as dots, lines, and other decorative features.
- Be patient and apply even pressure while drawing to avoid inconsistent lines.
- Let the Henna Dry:
- Leave the henna paste on your skin for at least 30 minutes to an hour, allowing it to dry properly.
- After drying, you can apply a lemon-sugar solution to keep the henna moist and improve color retention. Dab it gently over the design with a cotton ball.
- Remove the Henna:
- Once the paste has dried completely (a few hours or overnight for best results), gently scrape it off using tissue or cotton. Avoid washing it off with water immediately.
- Let the henna stain develop for the next 24–48 hours. The stain will darken from an orange to a deep reddish-brown color.
- Aftercare:
- Keep the area dry and avoid using soap or lotion for the first 24 hours to maximize the intensity of the stain.
- You can apply a bit of coconut oil or essential oil to protect the design.
Conclusion:
Creating a crown tattoo with henna is a beautiful way to express artistry and elegance. Whether you opt for a minimalist or an intricate design, the process allows for personalization and creativity. By following proper preparation, application, and aftercare steps, you can achieve a stunning, long-lasting henna crown. With practice, you’ll master the technique, adding your own flair to this timeless design. Whether for special occasions or personal expression, a henna crown tattoo is a unique and natural way to adorn the skin.


Leave a Reply